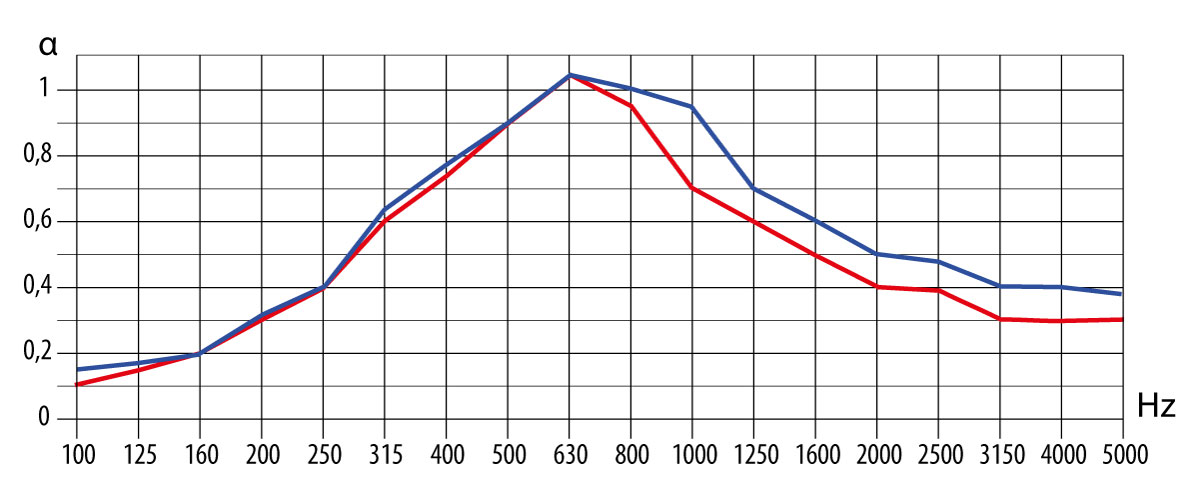
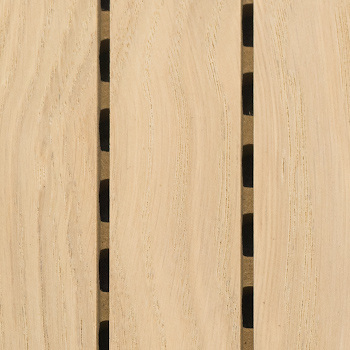

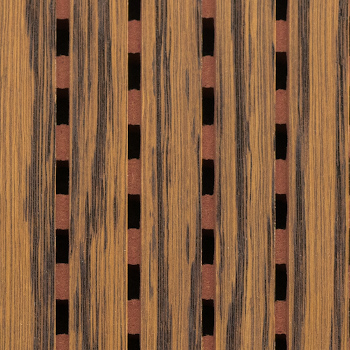
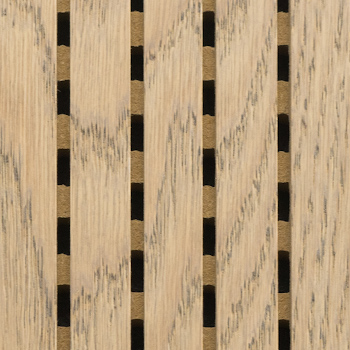
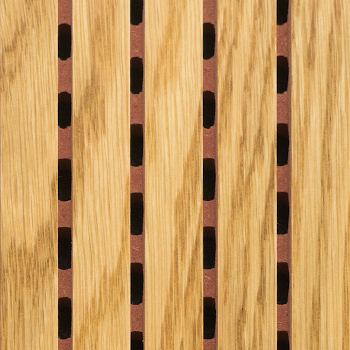
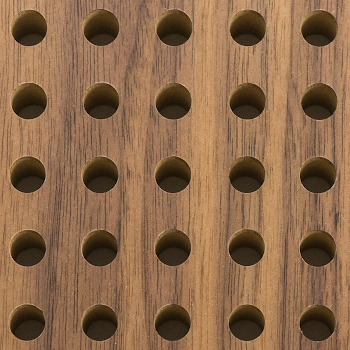
Coswick Acoustic panels are designed and suitable for finishing of walls and ceilings in rooms with special requirements to the acoustic characteristics: concerto halls, theatres, recording studios, home theatres, conference rooms and others.
According to the purpose of the room, building structure and acoustics project, you will find the most suitable variants to meet the required acoustics and design parameters and requirements.
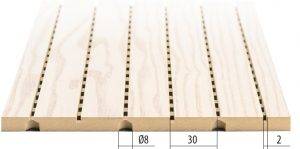
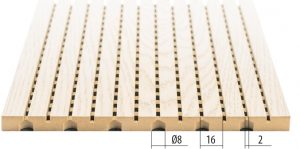
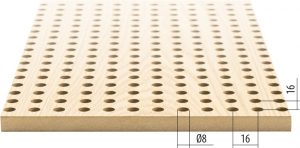
Dimensions: 16x192x2400 / 2750 / 3000 mm; 16x576x2400 / 2750 / 3000 mm; 16x600x600 mm; 16x600x1200 mm
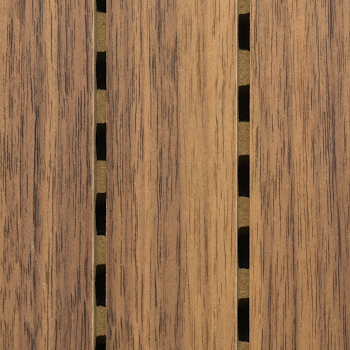
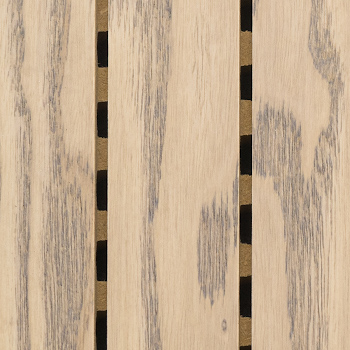
Wood species: Oak, ash tree, American walnut, birch, maple and others.